Today we were given a lesson on stop motion, we were taken to the animation studio and got to use the software to make our own animations, we used a program on the mac called istopmotion, and it was easy to used, I was pleased at how easy I seemed to find it. We were put into groups and given a selection of toys to create an animation with, I really liked ours! I remembered to send it to myself so that I could put it up on the blog! enjoy!
Wednesday, 30 March 2011
Monday, 28 March 2011
Inspiration
i was trying to think of some inspiration towards print an pixel, and it was so great when I realised that one of my favourite songs (guilty pleasure song, I may add) has a brilliant music video! Perfect for this brief! I absolutely love this video!!!
It's for the song "Sledgehammer" by Peter Gabriel, who I alway assumed was for old ladies, but I think I'm getting him mixed up with Daniel O'Donnell, that's really bad isnt it? Anyway! off topic!
Yes so the video for Sledgehammer, is made up of mainly stop motion animation, and plasticine animation, it was directed by Stephen. R. Johnson, and featured some animation created by Nick Park from Aardman Animations (Wallace and Gromit, Creature Comforts, Chicken Run etc) He created the headless chickens dancing in the video. For the majority of shooting the video, Gabriel had to lay under a piece of glass for 16 hours!, whilst the animations were created around him and he was filmed frame by frame! All I can say is: Dedication! The video, also inspired me to buy a pack of plasticine over the weekend just to mess around with and see if it's the right animation for me :)
anyway! Here is the video! Enjoy!
Our music.
The music that we were given for group 2 (the group I'm in) was a piece called "Clutchy Hopkins" I researched into the track and found out that the artist is actually called Clutchy Hopkins and the track is taken from the album "The Life of Clutchy Hopkins" and that the track itself is apparently just called 3:25 (amount of time it lasts)
Here's the album cover. Not alots really known about Clutchy Hopkins, it's an anonymous musician from Califirnia, and no one is can be sure who it is. Although it is thought to be an alter ego of a well known DJ. Pretty cool!
Anyway I got this track on my Spotify playlist as I had difficulty downloading it from blackboard, and have been listening to it non stop pretty much since we got the track. Just been writing down words that come to me as I listen to it, it is helping to form some kind of an idea for my animation, the words definitely sparked off a few scenarios in my head, I really need to decide what technique I am going to use for my animation and how I will create it. i did mess around with sort of stop motion, of just taking pictures of something and moving it slightly.
I have a morph character here that I got given for christmas, (morph being an animation himself!) and it's a "desk buddy" so he bends his arms and everything to hole pens pencils sticky notes etc, so I just too pictures of him and bent his arms slightly to make him appear to be waving, I'll put pictures up soon of it!
Print To Pixel
Last week, we were given out newest and final project for Graphic Design this term, the project is called print to pixel and for it we have to create a twenty - thirty second animation. Our animation has to be inspired from a piece of music that each individual group has been given, and from this music, we have to come up with three words that are inspiration towards our animation, we can use a range of animation mediums, such as photographic, hand drawn, stop motion etc. I am quite looking forward to it I suppose, it will definitely be a challenge as I have never really created an animation before. We're going to be given inductions and workshops in areas that will be useful to this project. Our first one was for the photography dark room, and how to use the equipment and th basic do's and don'ts. I quite enjoyed it, as I did AS photography, and it was nice to be back in the darkroom, as I do enjoy the process of developing photographs. the tutor taught us how to create rayograms which are when you use an actual object rather than a negative to create a photo, and you place the object on the paper rather than through the negative slotter, you can create great effects. For the next workshop we have been told to bring in items to use for the rayogram, which is tomorrow.
Monday, 14 March 2011
Final Piece Task 1 and 2
Finally we have come to the end of the project! it's been exhausting, but I've acquired some interesting skills, I'm still not 100% sure or keen on paper itself, I've gained to many papercuts too, and I am pleased with my final pieces especially when I think of how much I feel that I have struggled with this module as a whole.
So here they are my final pieces task one and two!
drumroll pleaaaase


So here they are my final pieces task one and two!
drumroll pleaaaase

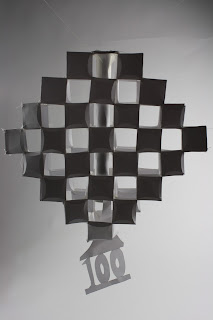
This is my task one piece, for repetition, made from 100 squares and inspired by the natural pattern of a pineapple, I've done different views of it, I also created a little box - like platform for it to sit on, as i didnt like the idea of it just being on the floor, the fact that it will be raised off slightly, reassures me that no one will tread on it.

its sewn and also held together with small thin strips of sellotape just for reinforced support.

Love the effect that light has on it

and here is my final piece for task 2! I went for a simple design, which I find quite effective, I wanted a strong bold type to catch your attention, and then put the details of the exhibit neatly in the corner. I'm really pleased with the photograph and the way my sculpture looks in the piece, I'm so happy with how it came out when it was photographed!
Thursday, 10 March 2011
Final Piece Poster Layout and Photoshoot
For my poster I had to design layouts and created some thumbnails for this, to give me a solid idea for my photoshoot.
I went into university on Wednesday to take photos for my poster using the studio equipment in the Graphics hub, I have me own digital SLR camera, so this was the PERFECT time to use it!
I had two helpers thankfully holding up my sculpture on a piece of string to give it the effect of hanging and floating, I think I got some pretty successful shots, I will put them all up to be fair, some are blurry at first but it just goes to show they can't all be great! I used a white backdrop like I had planned and wanted to.


played around with having a Close up of the 100 stencil, to emphasize the poster's point, howeve I thought for the final poster I would much prefer a photo of the whole sculpture.


off center :(


on some I did unfortunately capture the edge of the backdrop which is annoying, however if i choose any of the photos for my poster they can be cropped.
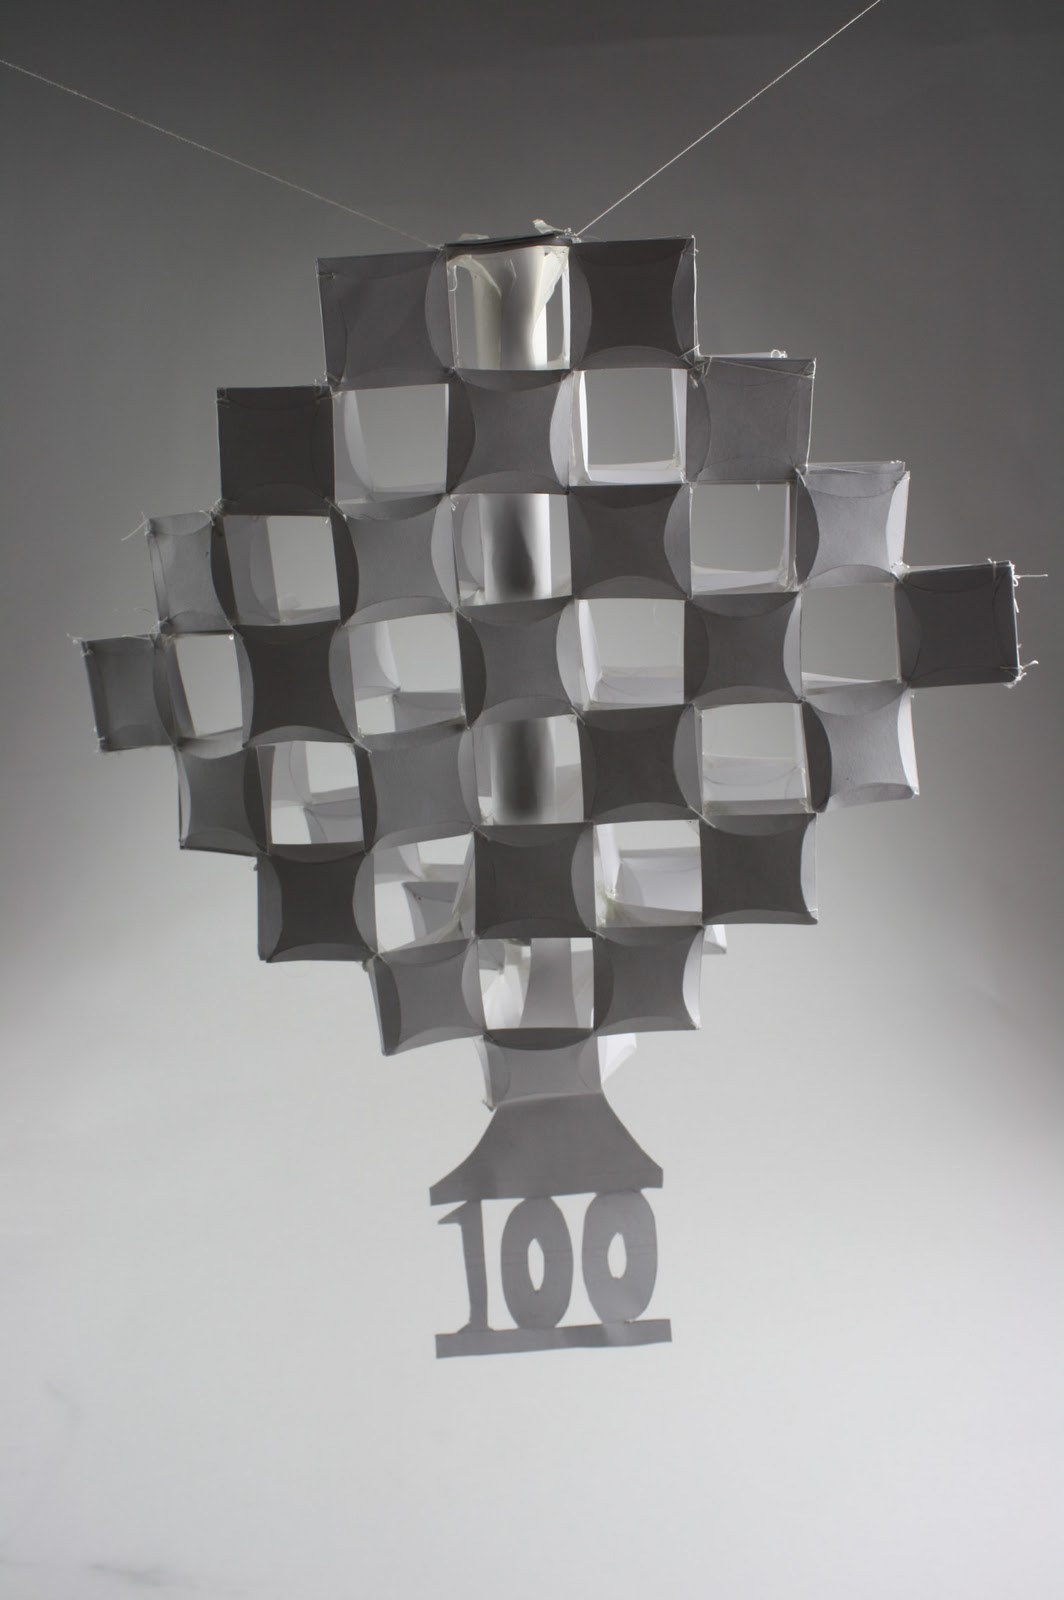


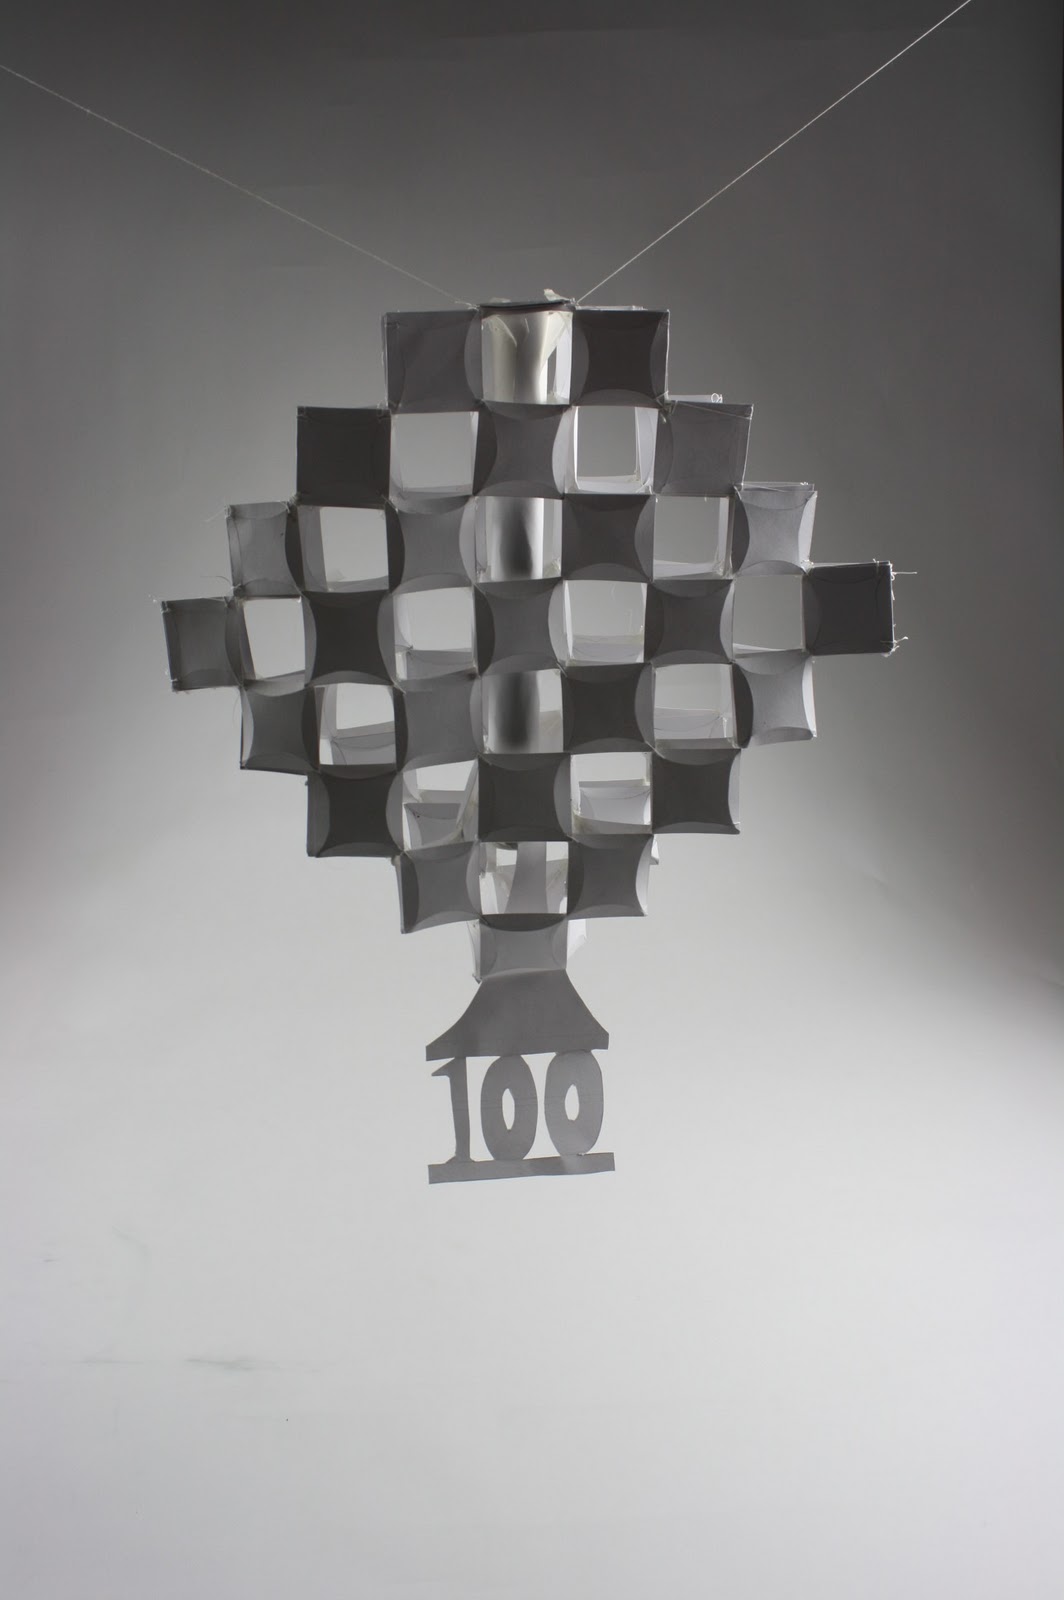
i like this one as one of my poster layouts is to have the sculpture in the centre of the piture so that I can have text both at the top and the bottom of it.

even thought I was so worried about this photoshoot and how my final piece would look, I am actually very pleased with the results, I think that I have created a sculpture that is very interesting to photograph and is able to capture lots of different shadows and tones all at once.
Developing for task 2 and research
I was planning to develop my sculpture for task 1 so that it could become a new sculpture for the task 2 which was the GF Smith poster celebrating 100 years, so to develop and change my sculpture, I thought that one way I could do this was to make it more obvious it was linked to the number 100. I had already created the sculpture out of 100 squares but I wanted "100" to physically be in the poster. So I thought a good way of doing this was to actually create the number 100 out of paper...
As part of research I also created a mind map for inspiration...


As part of research I also created a mind map for inspiration...


I decided to create a 100 stencil out of paper to somehow be incorporated into my sculpture.
At first I just placed the "100" onto the original sculpture, just for some ideas....


these ideas where pretty interesting and were at least adding the element of a hundred into my piece, however I wanted to change the structure of my sculpture for the final piece poster, So I experimented and changed the shape, then added the 100 on top of it again...


I liked the idea of changing my sculpture into a diamond shape as I thought it was very decorative, and would look attractive on the poster. I also thought that it would be nice if the sculpture would hang from string, The idea of putting the 100 stencil in the middle of the piece was on idea, but I also wanted to experiment with another...

I decided to attach string to my piece and take test shots just to see if it looked attractive hanging. I included taking pictures with light shining through as well, just for my own interest and experimentation...


They produced some very interesting photos, however I think in my final piece poster I will want to use a white background rather that dark
Now that I had decided that my piece for task one would be hanging, and diamond shaped, I now had to experiment with an idea to portray the "100" As well as the idea of sticking it onto the middle of the sculpture, however I realised that the sculpture will porbably rotate if it was hanging, so I would have to consider putting a stencil on each side of the sculpture, this could work but I didn't really like the idea enough. I also thought about cutting out multiple stencils of "100" and placing them in the middle of my sculpture, and though about making even maybe a hundred of the stencils, however I thought this could be time consuming. But then I thought of maybe having the 100 hanging from the bottom in the style of a mobile nearly. I cut the stencil and also cut out a long shape for it to hang from....

I wanted it to hang from the bottom of the piece so I had to think of a way to attach it on. I had the idea of attaching it through the middle of the sculpture so I created a cylinder paper piece to stick into the middle like so...

and then attached the cylinder and stencil together like so...

and then I attached it within my sculpture!

Ta Daaa!
here it is! ready for it's photoshoot!
Subscribe to:
Posts (Atom)